Orchid Flasking (Seed Sowing) Part 1: The Glove Box
When sowing orchid seeds, you need a sterile environment to avoid contamination of your orchid flasks. To provide the safest environment for my seeds, I decided to build a glove box (also called a "still box").
This certainly isn't the only option. A laminar flow hood seems to be the gold standard in orchid flasking, and many people have access to these in workspaces or purchase budget models available online. However, this is out of my budget right now. Alternatively, I came across several other interesting methods, including flasking between bleach-soaked cloths (interesting, but not sure I could pull it off) or flasking in a scrubbed bathroom with hepa filters (sorry, my bathroom is nowhere near that level of antiseptic cleanliness).
As a balance between effort and cost, the glove box seemed to be the best bet. There are numerous clever DIY methods on the internet and youtube, but I heavily utilized the method posted by Tetra Growth with only a few modifications.


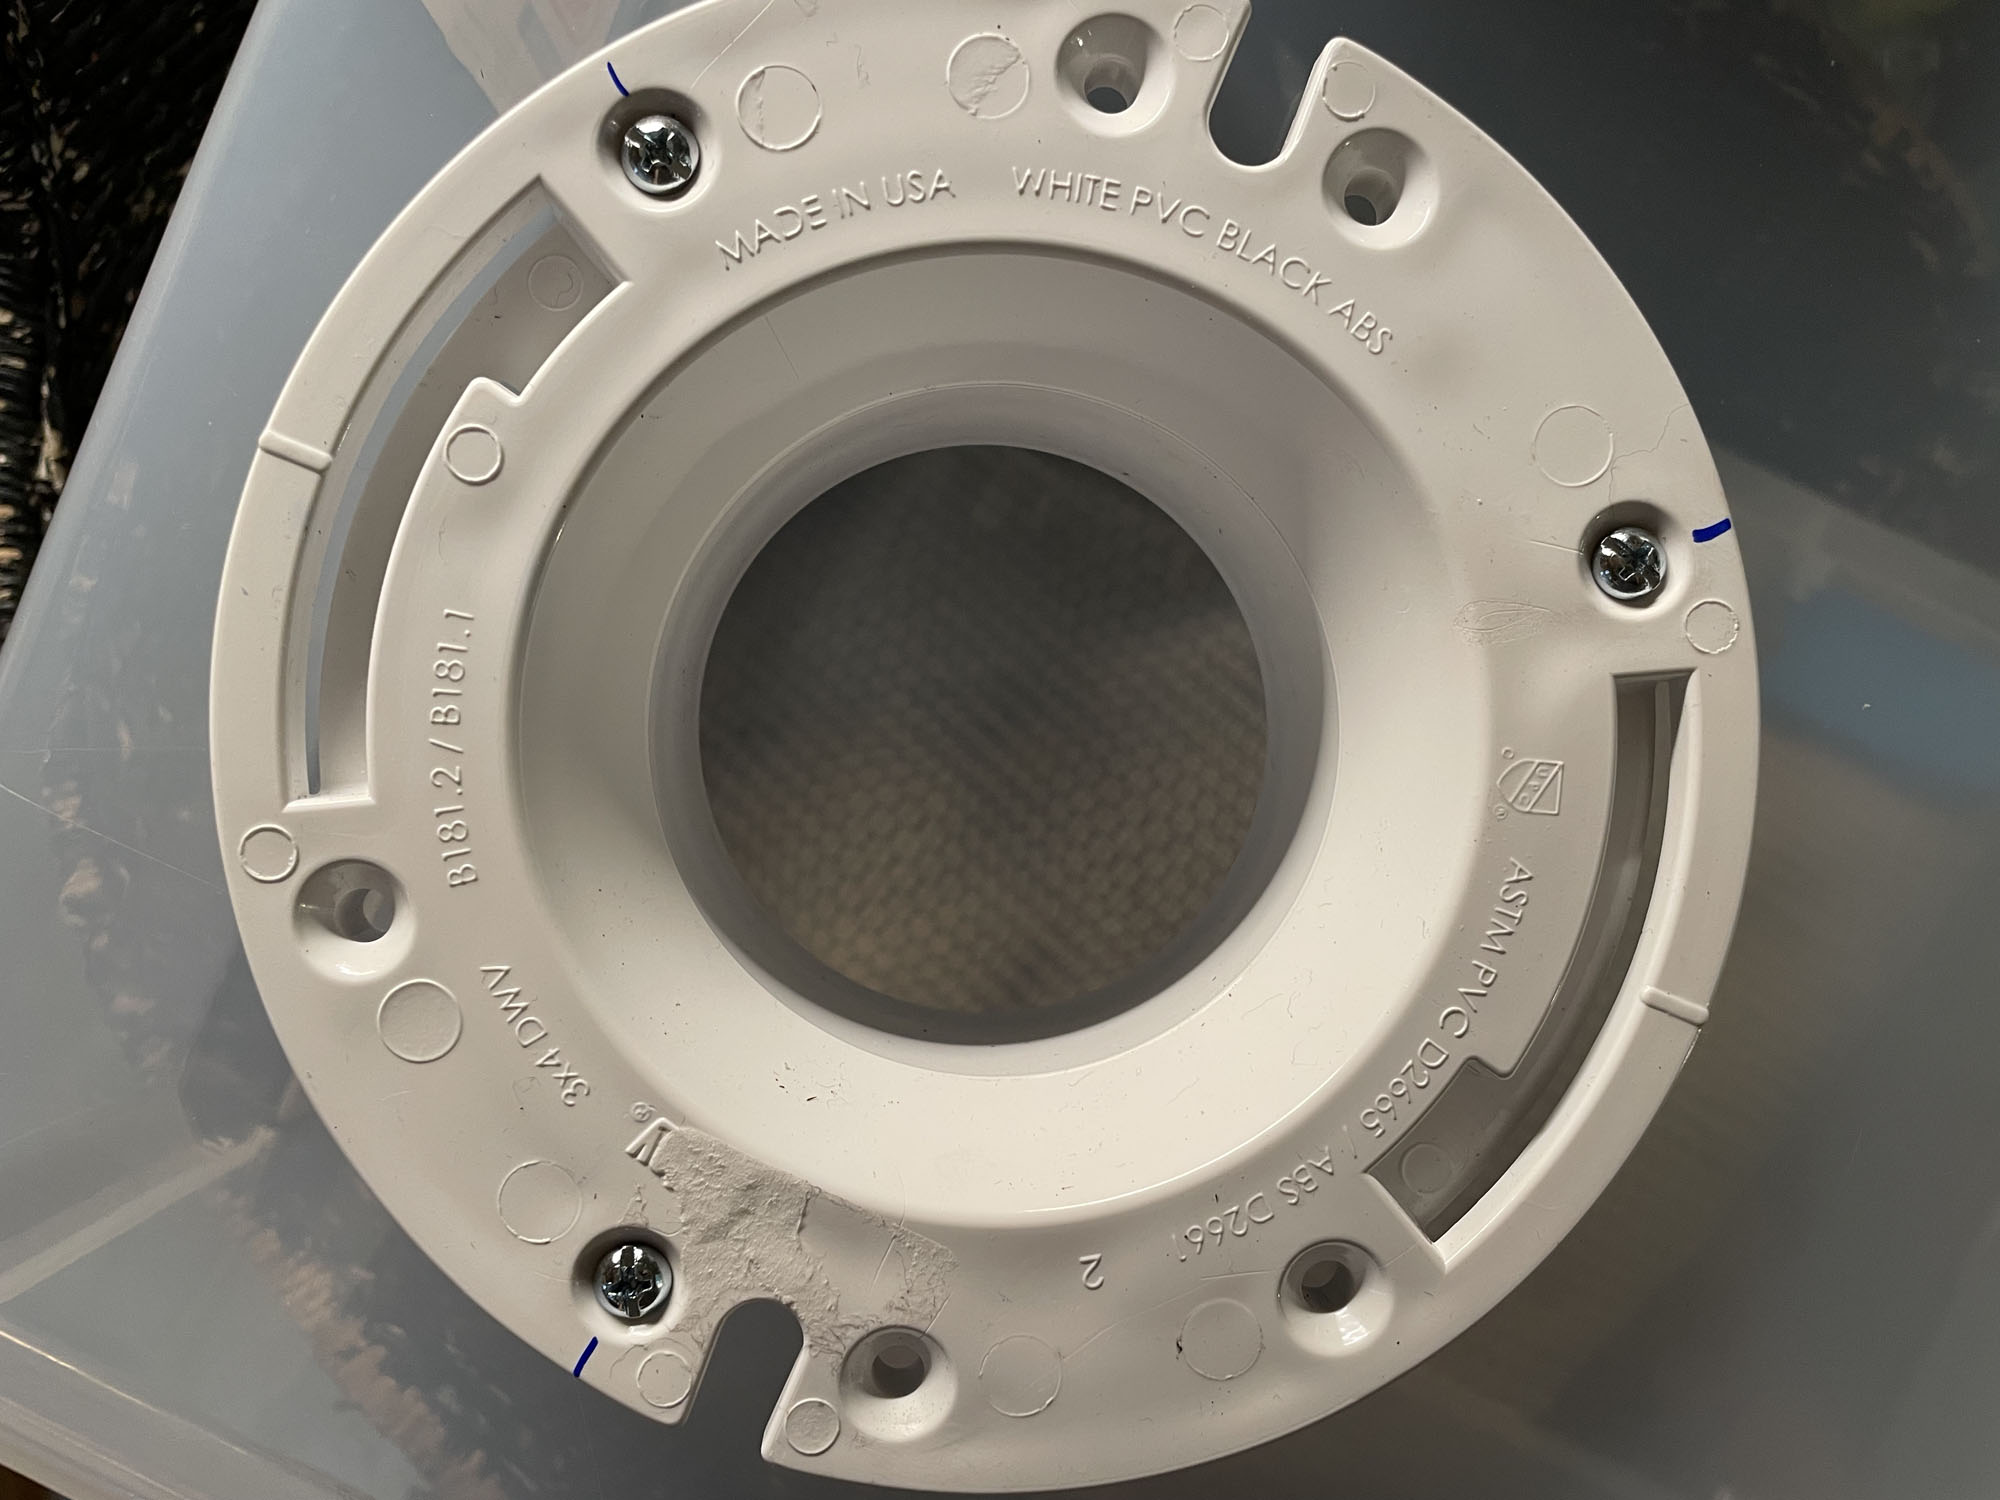
This is the hardware I ended up using to hold the flanges in place. I held the nut steady with a pair of long nose pliers while I tightened the screw with a screw driver. I opted not to epoxy the flanges in place-- it seems to me that the screws will be sufficient. I did use silicone to seal around flange on the inside of the box.


Comments
Post a Comment